For those who cherish homemade almond milk, the quest for a perfectly white, velvety smooth beverage is often met with the challenge of gritty texture and a slightly off-white hue. The secret to achieving that pristine, store-bought quality – or even surpassing it – lies in a simple yet transformative technique: blanching almonds. This guide will walk you through the essential steps to prepare your almonds, ensuring every batch of nut milk you make is luxuriously creamy and brilliantly white, free from the bitterness and fibrous residue often associated with unblanched varieties.
Why Blanch Almonds for Superior Nut Milk?
Blanching almonds involves briefly boiling them to soften and remove their skins. This seemingly small step has a profound impact on the final quality of your almond milk.
Enhanced Flavor Profile
|
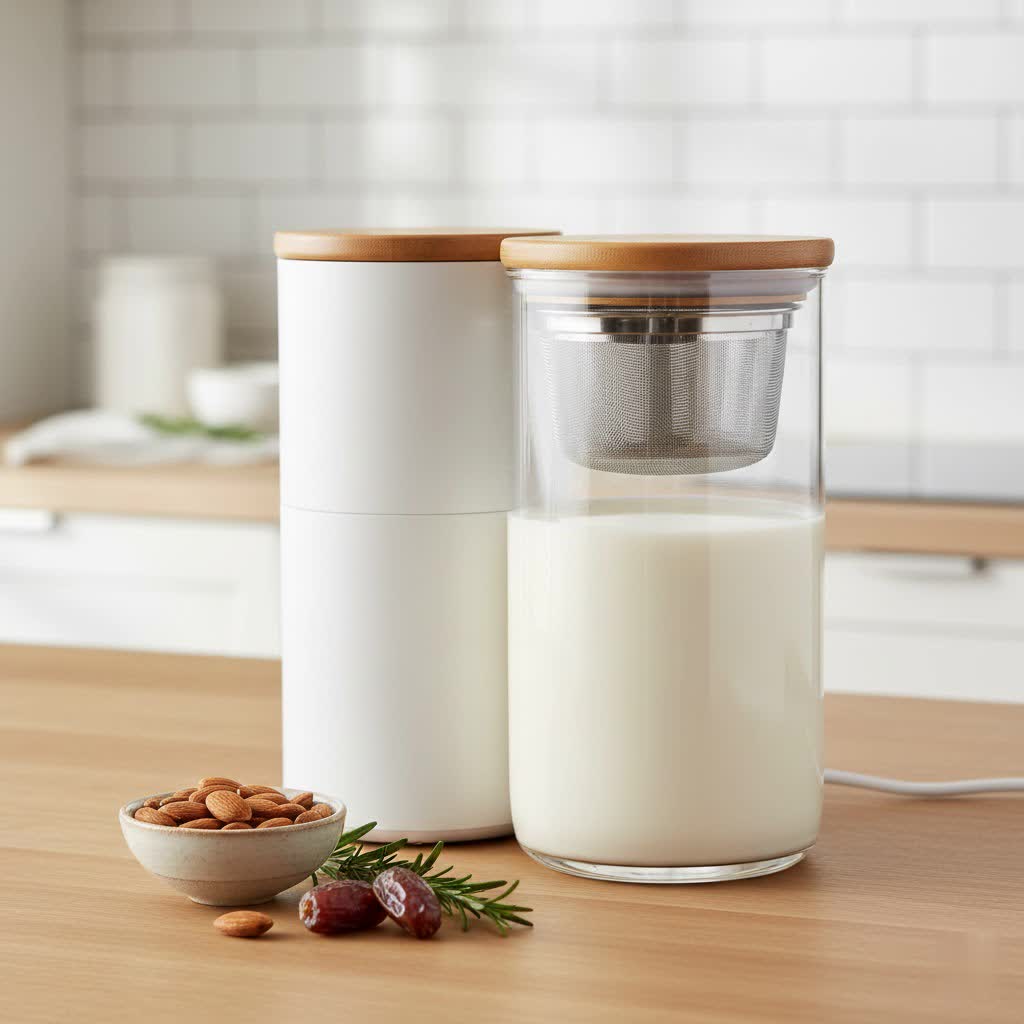
Our Picks for the Best Nut milk maker in 2026
As an Amazon Associate I earn from qualifying purchases.
|
||
| Num | Product | Action |
|---|---|---|
| 1 | 35oz Nut Milk Maker, Compact Soy Milk Maker with 12 Blades, Automatic Almond Oat Milk Machine, Hot & Cold Functions,12H Timer, Auto Clean, Keep Warm, White Batch Plant-Based Milk Maker |

|
| 2 | Nut Milk Maker, AlfaBot N2 Automatic Almond Milk Machine for Homemade Plant-Based Milk, Oat, Soy, Yogurt, 5 Modes/35OZ Big Capacity Soy Milk Maker with Delay Setting and Self Cleaning (Cream) |
|
| 3 | EanOruus Juicer Machines, 3-in-1 Cold Press Juicer with 6.5" Extra Large Chute, 100oz Large Capacity, AC Motor, Makes Juice, Nut Milk & Sorbet, Premium Gray |
|
| 4 | 50.73oz Nut Milk Maker Machine: 12-in-1 Automatic Soy Milk Maker with Detachable Design, Homemade Juice,Almond,Oat Milks for Plant-Based Milks, 24H Delay Start/Keep Warm/Auto-Clean/Safety Lock |
|
| 5 | Automatic Nut Milk Maker, 35 oz(1000ml) Homemade Almond, Oat, Soy, Plant-Based Milk and Dairy Free Beverages, Almond Milk Maker with Delay Start/Keep Warm/Boil Water, Soy Milk Maker with Nut Milk Bag |
|
| 6 | 8-IN-1 IAGREEA Nut Milk Maker Machine, 35 oz Soy Milk Maker, Oat, Soy, Plant Based and Dairy Free Beverages, Juice, 2H Keep Warm Countertop Blender, 10 Blades, 12H Delay Start, BPA-Free, Self-Cleaning |
|
| 7 | 8-in-1 Automatic Nut Milk Maker Blender, 40.6oz Homemade Almond, Oat, Coconut, Soy, Plant-Based & Non-Dairy Milks, Soybean Machine with Delay Start, Keep Warm, Self-Cleaning & Boil Water Functions |
|
| 8 | KIDISLE 32oz Automatic Soy Machine for Homemade Almond, Oat, Coconut, Soy, Plant Based Milks and Non Dairy Beverages with Delay Start/Keep Warm/Self-Cleaning/Boil Water, Black |
|
| 9 | ChefWave Milkmade Soy Milk Maker – 6-in-1 Plant-Based Milk Machine for Almond, Oat, Soy, Cashew, Coconut & Macadamia – No Soaking, Auto-Clean, Delay Start, Glass Pitcher – White |
|
| 10 | Nut Milk Maker, 40 Oz 8 in 1 Homemade Automatic Plant-Based Milk, Soy Milk, Oat Milk, Almond Milk & More Multifunctional/12 Hours Timer/Auto-Clean/Room Temp/Keep Warm/Boil/Room Temp/Low-Noise |
|
Almond skins contain tannins, which can impart a slightly bitter or astringent taste to your milk. By removing these skins, you unlock the almond’s naturally sweet and mild flavor, resulting in a cleaner and more palatable beverage.
Whiter and Brighter Appearance
The brown skins of almonds are responsible for the grayish or brownish tint in unblanched almond milk. Blanching removes these pigmented skins, yielding a strikingly white milk that is visually more appealing and blends seamlessly into coffee, smoothies, and light-colored recipes without altering their hue.
Luxuriously Smooth and Creamy Texture
The fibrous almond skins contribute to a coarser, sometimes gritty texture in homemade nut milk. When blanched, almonds become incredibly smooth, allowing them to blend into a finer, more homogenous liquid. This results in a silky, creamy mouthfeel that elevates your homemade almond milk to a new level of indulgence.
Potentially Easier Digestion
While not universally true for everyone, some individuals find that removing the almond skins makes the nut milk easier to digest, as the fibrous outer layer is eliminated.
Cost-Effective Choice
Purchasing pre-blanched almonds can be significantly more expensive than buying raw, skin-on almonds. Learning to blanch them yourself is a cost-effective way to enjoy high-quality almond milk without the premium price tag.
Step-by-Step Guide: How to Blanch Almonds Perfectly
Blanching almonds is a quick and straightforward process that takes mere minutes. Here’s how to do it right:
Equipment You’ll Need:
- A small to medium saucepan
- A colander or strainer
- A slotted spoon (optional, for safety)
- A bowl of ice water (optional, but recommended)
- Clean kitchen towels or paper towels
Step 1: Prepare Your Workspace
Gather all your equipment before you begin. For best results, ensure you have raw, unsalted almonds.
Step 2: Bring Water to a Rolling Boil
Fill your saucepan with enough water to fully submerge your almonds. Place it on the stove over high heat and bring it to a vigorous rolling boil.
Step 3: Add Almonds to Boiling Water
Carefully add your raw almonds to the boiling water. If adding with your hands, be cautious of splashing. A slotted spoon can be helpful. Let the almonds boil for exactly one minute. Boiling them for longer than 60 seconds can start to cook the almonds, making them soft and compromising their texture for milk-making. You’ll notice the skins may start to appear slightly shriveled or wrinkly.
Step 4: Shock the Almonds in Cold Water
Immediately after one minute, drain the almonds into a colander. Rinse them thoroughly with cold tap water or, ideally, transfer them into a bowl of ice water. This crucial step stops the cooking process, preventing the almonds from becoming mushy and making the skins easier to remove.
Step 5: Remove the Skins
Once the almonds are cool enough to handle, gently pinch each almond between your thumb and forefinger. The softened skin should easily slip off, revealing the smooth, pale ivory nut beneath. If any skins are stubborn, the almond may need a slightly firmer squeeze. Repeat this process for all the almonds.
Step 6: Thoroughly Dry the Blanched Almonds
Spread the blanched, skinless almonds in a single layer on a clean kitchen towel or paper towels. Gently pat them dry. For optimal results, especially if you won’t be using them immediately, allow them to air dry completely for several hours or even overnight. This prevents moisture from making them soft or prone to spoilage. Alternatively, you can dry them in a low oven (around 200°F/95°C) for about 15-20 minutes, stirring occasionally, until fully dry but not toasted.
“Blanching almonds is a small investment of time that pays off significantly in the quality of your homemade almond milk. It transforms a good product into an exceptional one.” – Reviewyb.com Admin, Almond Milk Machine Expert
Making White, Creamy Almond Milk with Blanched Almonds
Once your almonds are perfectly blanched and dried, you’re ready to create exquisite almond milk.
- Soak (Optional, but Recommended): While blanched almonds are already softened, soaking them for 4-8 hours (or even overnight) in filtered water can further enhance creaminess and make them even easier to blend. Drain and rinse thoroughly before blending.
- Blend: For a rich and creamy milk, a common ratio is 1 cup of blanched almonds to 3-4 cups of filtered water. Use a high-speed blender for the smoothest results. Blend on high for 1-2 minutes until the mixture is milky and the almond solids are finely ground. Add a pinch of salt, a date, or vanilla extract for flavor, if desired.
- Strain: Pour the almond mixture through a fine-mesh nut milk bag, cheesecloth, or a very fine sieve set over a large bowl or pitcher. Squeeze firmly to extract as much liquid as possible. The remaining pulp can be saved for other recipes like almond flour or crackers.
The result will be a beautifully white, remarkably smooth, and subtly sweet almond milk that far surpasses most store-bought options.
Troubleshooting Common Blanching Issues
Even with clear instructions, sometimes things don’t go perfectly. Here are solutions to common blanching problems:
Skins Aren’t Coming Off Easily
- Boiled too short: If the skins are still clinging tightly, it means they weren’t in the boiling water long enough to sufficiently loosen. Increase the boiling time slightly in your next batch (e.g., to 75 seconds, but still avoid over 90 seconds).
- Water wasn’t boiling vigorously: Ensure the water is at a rolling boil when you add the almonds.
- Almonds cooled too much before peeling: Try peeling them while they are still slightly warm (but not too hot to handle).
Almonds Are Soft or Mushy
- Over-boiled: This is the most common reason. Boiling for more than 60-90 seconds can start to cook the nuts, making them soft. Stick strictly to the one-minute rule.
- Not shocked quickly enough: The cold water bath is crucial to immediately stop the cooking process. Ensure your cold water is truly cold, or use an ice bath.
Milk Still Not White Enough
- Not all skins removed: Double-check that every almond is completely skinned before blending. Any leftover skin will introduce color.
- Water quality: Using filtered water can also contribute to a cleaner, brighter final product.
Beyond Milk: Other Uses for Blanched Almonds
While blanching is key for superior almond milk, these skinless nuts are incredibly versatile:
- Homemade Almond Flour: Dry the blanched almonds completely, then grind them in a food processor until a fine flour forms. Perfect for gluten-free baking.
- Almond Butter: Blend blanched almonds in a high-speed blender until creamy.
- Baking and Confections: Many recipes, such as marzipan, macarons, or almond cakes, specifically call for blanched almonds for their smooth texture and clean flavor.
- Snacks: Lightly toast blanched almonds for a delicious, crunchy snack.
- Garnish: Use them as an elegant topping for salads, desserts, or savory dishes.
Conclusion
Mastering the art of blanching almonds is a game-changer for anyone serious about making the best homemade nut milk. By investing a few simple minutes, you can transform ordinary raw almonds into the foundation for an exceptionally white, creamy, and mild-flavored beverage. This technique not only enhances the sensory experience of your almond milk but also opens up a world of culinary possibilities for these versatile nuts. Embrace this method, and you’ll never settle for gritty, off-color almond milk again. What culinary creations will you embark on with your perfectly blanched almonds?
Frequently Asked Questions
Is blanching almonds absolutely necessary for almond milk?
While not strictly “necessary” to make almond milk, blanching is highly recommended if you desire a truly white, creamy, and milder-tasting milk. Unblanched almonds will produce milk with a brownish tint and a slightly bitter, fibrous texture.
How long do blanched almonds last?
Properly dried blanched almonds can be stored in an airtight container in the refrigerator for up to 2-3 weeks, or frozen for several months. Ensure they are completely dry before storing to prevent mold.
Can I blanch a large batch of almonds at once?
Yes, you can blanch a larger quantity of almonds. However, it’s best to work in batches to ensure the water remains at a rolling boil and the almonds are evenly cooked for the short duration needed. This prevents overcrowding, which can lower the water temperature and lead to inconsistent results.
What if some almond skins are still stubborn after blanching?
If a few skins remain stubbornly attached, you can try re-submerging those specific almonds in hot water for about 30 seconds, then re-shocking them in cold water before trying to peel again. Be careful not to over-soak them, which could make them soft.