Embracing plant-based alternatives has become a cornerstone of modern healthy living, and among the diverse array of dairy-free options, homemade walnut milk stands out. Not only does it offer a creamy texture and rich, nutty flavor, but it’s also a powerhouse of nutrition, especially lauded for its exceptional omega-3 fatty acid content. If you’re looking to effortlessly boost your intake of these essential healthy fats while enjoying a delicious beverage, crafting your own walnut milk at home is a rewarding endeavor. This comprehensive guide will walk you through everything you need to know, from understanding its benefits to mastering the perfect recipe and making the most of every drop.
The Nutritional Powerhouse: Why Walnut Milk for Omega-3 Boost?
|
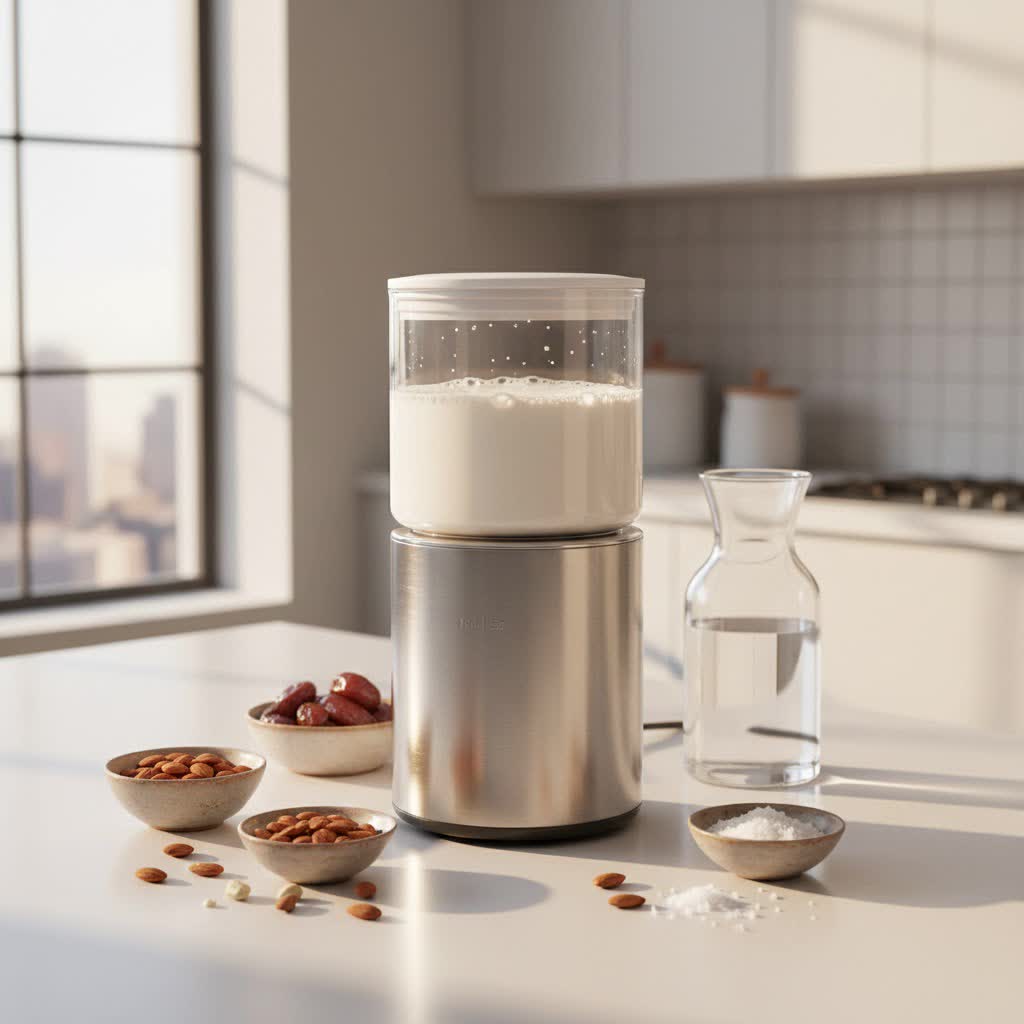
Our Picks for the Best Nut milk maker in 2026
As an Amazon Associate I earn from qualifying purchases.
|
||
| Num | Product | Action |
|---|---|---|
| 1 | ChefWave Milkmade Soy Milk Maker – 6-in-1 Plant-Based Milk Machine for Almond, Oat, Soy, Cashew, Coconut & Macadamia – No Soaking, Auto-Clean, Delay Start, Glass Pitcher – White |

|
| 2 | EanOruus Juicer Machines, 3-in-1 Cold Press Juicer with 6.5" Extra Large Chute, 100oz Large Capacity, AC Motor, Makes Juice, Nut Milk & Sorbet, Premium Gray |
|
| 3 | Nut Milk Maker, 40 Oz 8 in 1 Homemade Automatic Plant-Based Milk, Soy Milk, Oat Milk, Almond Milk & More Multifunctional/12 Hours Timer/Auto-Clean/Room Temp/Keep Warm/Boil/Room Temp/Low-Noise |
|
| 4 | 8-in-1 Automatic Nut Milk Maker Blender, 40.6oz Homemade Almond, Oat, Coconut, Soy, Plant-Based & Non-Dairy Milks, Soybean Machine with Delay Start, Keep Warm, Self-Cleaning & Boil Water Functions |
|
| 5 | Nut Milk Maker, AlfaBot N2 Automatic Almond Milk Machine for Homemade Plant-Based Milk, Oat, Soy, Yogurt, 5 Modes/35OZ Big Capacity Soy Milk Maker with Delay Setting and Self Cleaning (Cream) |
|
| 6 | 35oz Nut Milk Maker, Compact Soy Milk Maker with 12 Blades, Automatic Almond Oat Milk Machine, Hot & Cold Functions,12H Timer, Auto Clean, Keep Warm, White Batch Plant-Based Milk Maker |
|
| 7 | 8-IN-1 IAGREEA Nut Milk Maker Machine, 35 oz Soy Milk Maker, Oat, Soy, Plant Based and Dairy Free Beverages, Juice, 2H Keep Warm Countertop Blender, 10 Blades, 12H Delay Start, BPA-Free, Self-Cleaning |
|
| 8 | KIDISLE 32oz Automatic Soy Machine for Homemade Almond, Oat, Coconut, Soy, Plant Based Milks and Non Dairy Beverages with Delay Start/Keep Warm/Self-Cleaning/Boil Water, Black |
|
| 9 | Automatic Nut Milk Maker, 35 oz(1000ml) Homemade Almond, Oat, Soy, Plant-Based Milk and Dairy Free Beverages, Almond Milk Maker with Delay Start/Keep Warm/Boil Water, Soy Milk Maker with Nut Milk Bag |
|
| 10 | 50.73oz Nut Milk Maker Machine: 12-in-1 Automatic Soy Milk Maker with Detachable Design, Homemade Juice,Almond,Oat Milks for Plant-Based Milks, 24H Delay Start/Keep Warm/Auto-Clean/Safety Lock |
|
In the ever-expanding world of plant-based milks, walnut milk carves a unique niche as a champion for health, particularly due to its high concentration of alpha-linolenic acid (ALA), a plant-based omega-3 fatty acid. While many plant milks offer valuable nutrients, walnuts are notably richer in omega-3s than most other nuts, making their milk an excellent choice for those seeking to enhance their intake of these crucial fats. Omega-3 fatty acids are vital for numerous bodily functions, playing a significant role in reducing inflammation, improving cardiovascular health, and supporting cognitive function.
Beyond its impressive omega-3 profile, walnut milk is a nutrient-dense beverage. It provides a good source of antioxidants like polyphenols and Vitamin E, which combat oxidative stress and contribute to overall cellular health. You’ll also find essential minerals such as magnesium and phosphorus, important for strong bones and teeth, alongside Vitamin B6, which supports metabolic processes. Compared to traditional dairy, walnut milk is naturally lactose-free and free of cholesterol. It can also contribute to satiety, potentially assisting with weight management, and some research suggests walnuts may have beneficial effects on blood sugar control. Its holistic health benefits make it a superior choice for many looking for a wholesome dairy alternative.
Essential Ingredients and Equipment for Your Homemade Batch
Creating your own walnut milk is surprisingly simple, requiring only a few basic ingredients and kitchen tools. The beauty of homemade milk lies in its purity and the ability to customize it exactly to your taste.
Core Ingredients:
- Raw Walnuts: Opt for raw, unsalted, shelled walnut halves or pieces. These are crucial for the best flavor and nutritional integrity.
- Filtered Water: High-quality filtered water is essential for a clean-tasting milk.
Optional Enhancements:
- Sweeteners: A touch of natural sweetener can balance the walnut’s natural earthiness. Options include Medjool dates (pitted), maple syrup, or a small amount of honey.
- Vanilla Extract: A splash of pure vanilla extract enhances the overall flavor profile.
- Pinch of Sea Salt: A tiny amount of salt can bring out the sweetness and richness of the walnuts.
Necessary Equipment:
- High-Speed Blender: This is the most critical piece of equipment. A powerful blender ensures a smooth, creamy milk by thoroughly breaking down the walnuts.
- Nut Milk Bag or Fine-Mesh Sieve/Cheesecloth: To separate the creamy milk from the walnut pulp, a good straining tool is indispensable. A nut milk bag is often preferred for its efficiency and ability to yield a smoother result.
- Airtight Container: A glass jar or bottle with a tight-fitting lid is ideal for storing your freshly made walnut milk in the refrigerator.
Step-by-Step Mastery: Crafting Your Perfect Walnut Milk
The process of making walnut milk is straightforward, typically involving four main steps: soaking, blending, straining, and flavoring. Each step contributes to the final taste and texture of your homemade beverage.
- Soaking the Walnuts: This initial step is vital for several reasons. Soaking softens the walnuts, making them easier for your blender to process into a smooth milk. It also helps to reduce the bitterness often associated with walnuts by minimizing tannins, leading to a milder and more palatable flavor. Simply place your raw walnuts in a bowl and cover them with filtered water, ensuring at least an inch or two of water above the nuts. Let them soak overnight, or for a minimum of 8-12 hours, though some prefer up to 48 hours for an even smoother outcome.
- Rinsing Thoroughly: After soaking, drain the walnuts in a colander and rinse them meticulously under cold running water. Discarding the soaking water and rinsing helps to wash away any released tannins and ensures a cleaner taste for your milk.
- Blending to Perfection: Transfer the rinsed walnuts to your high-speed blender. Now, add fresh filtered water. A common ratio is 1 cup of walnuts to 3-4 cups of water, but you can adjust this to achieve your desired consistency – less water for a thicker, creamier milk, more for a thinner, lighter one. Blend on high speed for 1 to 2 minutes, or until the mixture appears frothy, white, and completely smooth. You should no longer hear large pieces of walnuts rattling in the blender.
- Straining for Smoothness: Place your nut milk bag over a large bowl or pitcher. Slowly pour the blended walnut mixture into the bag. Gently squeeze the bag to extract all the liquid, leaving the fine walnut pulp behind. This step is crucial for achieving a smooth, pulp-free milk. If using cheesecloth, layer it several times in a fine-mesh sieve before pouring and squeezing.
- Optional Flavoring: Once strained, you can return the milk to the blender (if adding additional ingredients) or stir in your desired sweeteners and flavorings directly into the pitcher. For a hint of sweetness, blend in 1-2 pitted Medjool dates per cup of walnuts, or add a tablespoon or two of maple syrup or honey. A half teaspoon of vanilla extract and a pinch of sea salt can further enhance the flavor.
Elevating Your Walnut Milk: Tips for Flavor and Longevity
Homemade walnut milk offers a versatile base for culinary creativity. Experimenting with flavors can transform your daily glass into a delightful experience, while proper storage ensures you can enjoy your efforts for as long as possible.
Creative Flavor Additions:
- Spiced Elegance: Add a pinch of cinnamon, nutmeg, or cardamom during the blending stage for a warm, aromatic milk, perfect for colder months or a morning coffee.
- Chocolate Indulgence: For a rich treat, blend in 1-2 tablespoons of unsweetened cocoa powder with your walnuts and a little extra sweetener.
- Berry Boost: Incorporate a handful of fresh or frozen berries for a fruity twist, ideal for smoothies or as a standalone refresher.
- Herbal Infusion: Try adding a few mint leaves or a hint of lavender for an unexpected and sophisticated flavor.
Ensuring Freshness and Maximizing Shelf-Life:
The key to keeping your homemade walnut milk fresh is proper storage. Always transfer the strained milk into a clean, airtight container, preferably glass. Store it in the coldest part of your refrigerator. Homemade walnut milk typically maintains its freshness and best quality for 3 to 5 days. It’s natural for the milk to separate during storage, with a layer of thicker cream rising to the top; simply shake or stir well before each use to re-emulsify.
For longer storage, walnut milk can be frozen. Pour it into ice cube trays for convenient, single-serving portions, or into freezer-safe containers, leaving some headspace for expansion. Frozen walnut milk can last for several months. Thaw it in the refrigerator overnight before use, and be aware that the texture might be slightly less creamy after thawing, but it remains perfectly good for smoothies, cooking, and baking.
Troubleshooting Common Homemade Walnut Milk Challenges
Even experienced home chefs can encounter small hurdles when making nut milk. Here are some common issues and their straightforward solutions to ensure your walnut milk always turns out perfectly.
- Bitterness: This is the most frequent complaint with walnut milk. The primary culprit is insufficient soaking or rinsing. Ensure you soak your walnuts for the recommended 8-12 hours, or even up to 24 hours if you’re sensitive to bitterness. Always discard the soaking water and rinse the walnuts thoroughly before blending. Adding a date or a touch of maple syrup can also help to mask any residual bitterness.
- Too Thick or Too Thin: The consistency of your walnut milk is a matter of personal preference and can be easily adjusted. If your milk is too thick, simply add more filtered water, a quarter cup at a time, and blend briefly until you reach your desired consistency. If it’s too thin, you can reduce the amount of water in your next batch, or for the current batch, allow it to sit for a few hours in the fridge and the natural separation might give a slightly creamier top layer.
- Separation: It’s entirely natural for homemade nut milks, including walnut milk, to separate into layers when stored. Unlike commercial milks that often contain emulsifiers, your homemade version is pure. This separation does not indicate spoilage. Just give your container a good shake or stir before pouring to recombine the cream and water, restoring its uniform consistency.
Beyond the Glass: Creative Culinary Uses for Walnut Milk
Homemade walnut milk is far too versatile to be confined to just a drinking glass. Its creamy texture and subtle nutty flavor make it an excellent ingredient in a wide array of dishes, adding nutritional value and a delicious twist.
Beverage Applications:
- Coffee and Tea: Use it as a dairy-free creamer in your morning coffee or a soothing cup of tea. Its richness adds depth without overpowering the beverage.
- Smoothies and Shakes: Walnut milk forms a fantastic base for smoothies, contributing healthy fats and a smooth texture. Combine it with fruits, greens, and protein powder for a nutritious meal replacement or snack.
- Hot Chocolate: A warm, comforting mug of hot chocolate made with walnut milk is a true delight, especially with a hint of cinnamon.
Cooking and Baking Applications:
- Oatmeal and Cereal: Pour walnut milk over your morning oats or cereal for an extra boost of flavor and nutrition.
- Soups and Sauces: Substitute dairy milk or cream with walnut milk in creamy soups, curries, or savory sauces to add a subtle nutty undertone and rich texture.
- Baking: Incorporate walnut milk into recipes for pancakes, muffins, breads, or custards. It can often be used as a 1:1 substitute for dairy milk in many vegan baking recipes, adding moisture and a delicate flavor.
- Puddings: Create delectable plant-based puddings or chia seed puddings using walnut milk as the liquid base.
Utilizing Leftover Walnut Pulp:
Don’t discard the leftover walnut pulp! This fiber-rich byproduct can be repurposed into various culinary creations. You can add it to:
- Smoothies: A little extra fiber won’t hurt!
- Baking: Mix into muffins, breads, or cookies for added texture and nutrients.
- Energy Bites: Combine with dates, oats, and other nuts for quick, healthy snacks.
- Crackers or Veggie Burgers: Dehydrate the pulp to make savory crackers or use it as a binder in homemade veggie burgers.
Key Considerations for Homemade Walnut Milk Success
To consistently achieve delicious and nutritious homemade walnut milk, a few important considerations can make all the difference, ensuring you get the most out of your efforts.
- Source Quality Walnuts: The taste of your milk largely depends on the quality of your walnuts. Always opt for fresh, raw, organic (if possible), and unsalted walnuts. Check for a firm texture and a fresh, mild aroma; avoid any that smell rancid or appear shriveled. Buying from reputable sources or in bulk from health food stores often yields better quality.
- The Power of Filtered Water: While tap water can technically be used, filtered water significantly improves the taste of your final product. Tap water can contain chlorine or other impurities that may impart an off-flavor to your delicate nut milk.
- Invest in Good Equipment: A high-speed blender is truly an investment if you plan to make nut milks regularly. It ensures a smoother, creamier texture and extracts more milk from the nuts. Similarly, a durable, fine-mesh nut milk bag makes the straining process much easier and more efficient than cheesecloth, resulting in a silkier milk.
- Personalize Your Sweetness and Consistency: One of the greatest advantages of making your own walnut milk is the control you have over its ingredients. Feel free to adjust the amount of water to achieve your preferred thickness and experiment with various natural sweeteners (or none at all) until you find your ideal balance. Don’t be afraid to make it your own!
Conclusion
Crafting your own walnut milk at home is a simple yet profoundly rewarding experience. Not only do you gain a fresh, creamy, and dairy-free beverage free from unwanted additives, but you also unlock a fantastic source of plant-based omega-3 fatty acids, vital for heart health, brain function, and overall well-being. From the satisfying process of soaking and blending to enjoying its versatility in countless recipes, homemade walnut milk offers an unparalleled combination of flavor, nutrition, and customization. It’s an easy and delicious way to take charge of your health and explore the vast potential of plant-based eating.
Why not empower yourself with this simple skill and revolutionize your daily diet? Your taste buds, and your body, will thank you.
Frequently Asked Questions
Do I have to soak walnuts before making milk?
Yes, soaking walnuts is highly recommended. It softens the nuts, allowing for a creamier milk, and significantly reduces the natural bitterness from tannins, resulting in a smoother, more palatable flavor.
How long does homemade walnut milk last?
Homemade walnut milk should be stored in an airtight container in the refrigerator and is best consumed within 3 to 5 days for optimal freshness and taste.
Why does my walnut milk taste bitter?
Bitterness often comes from insufficient soaking or not thoroughly rinsing the walnuts after soaking. Ensure you soak for at least 8-12 hours, discard the soaking water, and rinse the nuts well. Adding a touch of natural sweetener like a date or maple syrup can also help.
Can I make walnut milk without a nut milk bag?
While a nut milk bag is ideal for a super smooth result, you can use several layers of cheesecloth lining a fine-mesh sieve as an alternative for straining the pulp from the milk.
What can I do with leftover walnut pulp?
The leftover walnut pulp is rich in fiber and nutrients. You can incorporate it into smoothies, mix it into baked goods like muffins or bread, or even use it to make energy bites or crackers.