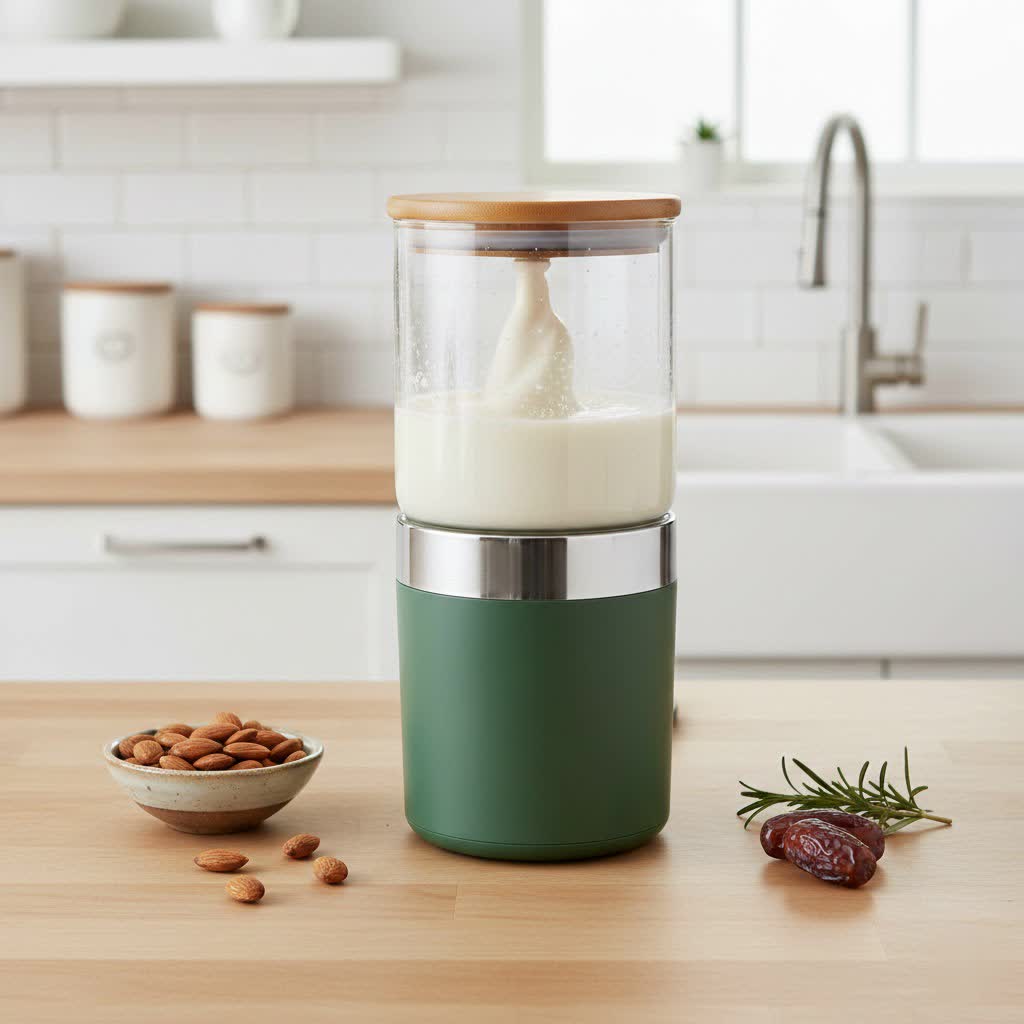
For many who embrace homemade plant-based milks, a soy milk maker is an indispensable kitchen appliance. It promises fresh, nutritious soy milk with minimal effort. Yet, a common frustration that can turn your creamy creation into a kitchen challenge is the dreaded burnt bottom. This issue not only affects the taste of your soy milk but can also impact the longevity and performance of your machine. Understanding why this happens and knowing how to prevent and resolve it is key to enjoying perfectly smooth soy milk every time.
Understanding Why Soy Milk Makers Burn at the Bottom
A burnt bottom in your soy milk maker is more than just an inconvenience; it’s a sign that something in the cooking process isn’t quite right. The primary causes often stem from an imbalance in ingredients, improper machine operation, or inadequate cleaning. When the heating element at the base of the machine comes into direct, prolonged contact with concentrated soy sediment or insufficient liquid, scorching can occur.
One frequent culprit is selecting the wrong cycle for your chosen ingredients. For instance, using a program designed for bean soy milk when making a thicker paste can lead to overheating. Similarly, incorrect ratios of ingredients to water can result in the liquid evaporating too quickly, leaving solids to burn against the heating surface. A pot that isn’t thoroughly clean from previous uses can also leave a layer of residue that burns easily during the next cycle. Overfilling the machine can also contribute, as it may interfere with proper circulation or lead to boil-overs that leave behind concentrated residue. In some instances, particularly with lower-quality appliances, design flaws or substandard heating elements can be a root cause of consistent burning, as they may not regulate temperature effectively.
Preventative Measures: Keeping Your Soy Milk Maker Clean and Clear
The best way to address burnt bottoms is to prevent them from happening. Adopting a few simple practices can significantly reduce the likelihood of scorching and keep your machine running smoothly. Start by always following the manufacturer’s recommended cooking times and ingredient-to-water ratios, which are designed to optimize performance and prevent issues. It’s crucial to monitor the cooking process, especially during the first few uses of a new recipe or machine, to catch any potential problems early.
Proper bean preparation is another critical step. Ensure your soybeans are adequately soaked and thoroughly rinsed before placing them in the machine. This helps in achieving a smoother consistency and reduces the amount of sediment that could settle and burn. Regular and meticulous cleaning after each use is paramount. Disassemble the removable components like the filter, blades, and container, and wash them with warm, soapy water. Pay special attention to removing any leftover soybean pulp or milk remnants, as these can harden and become stubborn. Periodically descaling your machine can also help prevent mineral deposits, or “water scales,” from forming and causing burning. Don’t forget to clean the vent valve and its sealing ring to prevent blockages that could affect pressure and cooking efficiency.
Step-by-Step Troubleshooting Guide for Burnt Bottoms
When a burnt bottom inevitably occurs, don’t despair. There are effective steps you can take to clean the residue and troubleshoot the underlying issue.
- Immediate Action: As soon as you notice burning, or after the cycle is complete, quickly add water to the pot to soak the burnt area. This helps prevent the residue from hardening and becoming more difficult to remove.
- Soaking: For mild burns, fill the pot with warm water and a few drops of dish soap. Let it soak for several hours, or even overnight. This softens the residue, making it easier to clean.
- Cleaning with Acidic Solutions:
- White Vinegar: For stubborn stains or water scales, fill the pot with white vinegar until it covers the burnt area. You can let it soak cold, or for tougher burns on the heating element itself, gently warm the vinegar to around 40°C (just warm to the touch) using the machine’s heating function (if safe and recommended by the manufacturer), then turn it off and let it cool naturally. Afterwards, scrub with a cleaning pad.
- Lemon Juice: Similar to vinegar, lemon juice can help dissolve light stains and eliminate odors. It’s particularly effective for browning on the blades.
- Baking Soda & Vinegar Paste: Create a paste with baking soda and a small amount of vinegar, apply it to the burnt spots, and let it sit for a while before scrubbing.
- Gentle Abrasives: While some advise caution, certain gentle abrasives can be effective. Use a soft cleaning pad or sponge with your chosen cleaning solution. For tougher stainless steel pots, some users find Bar Keepers Friend (the powder type) effective, but always test in an inconspicuous area and follow manufacturer guidelines. Avoid harsh scourers like steel wool on stainless steel pots if your machine’s manual advises against it, as they can cause damage.
- Scrubbing Technique: Use small, circular movements. For hard-to-reach areas, you can cut a dollar-store sponge into a smaller size and manipulate it with a chopstick or plastic fork.
- Rinse Thoroughly: After cleaning, rinse all components thoroughly to remove any cleaning solution residue before the next use.
If you consistently experience burning despite following all preventative measures and troubleshooting steps, and particularly if there’s a persistent burnt smell or taste, it may indicate a deeper issue with the machine, such as a faulty heating element. In such cases, it’s best to consult the manufacturer’s service center or consider replacing the appliance.
Advanced Tips for Smooth Soy Milk Production
Beyond basic troubleshooting, a few advanced tips can help you achieve consistently perfect soy milk and minimize the chances of burning. Experimenting with different soy milk maker settings can yield varied results. Many machines offer different cycles for various types of beans or consistencies; ensure you’re using the one best suited for your recipe.
Consider using filtered water, as the mineral content in tap water can contribute to scale buildup over time, which may indirectly lead to burning. While not universally applicable, some recipes or manufacturers might suggest adding a minimal amount of a neutral oil, which can sometimes help reduce sticking, but always verify this against your machine’s manual. Most importantly, familiarize yourself with your specific machine’s features, limitations, and unique care instructions. The user manual is your best friend for optimizing performance and prolonging the life of your appliance.
Buying Guide: What to Look for to Avoid Future Burning Issues
When purchasing a new soy milk maker or upgrading an existing one, certain features can significantly reduce the risk of burnt bottoms. Look for machines equipped with advanced temperature and foam sensors. These intelligent features are designed to prevent overheating and boiling-over, which are common precursors to burning. Models with optimally designed cook cycles and robust, non-stick coatings on their inner pots also offer superior protection against scorching.
Beyond features, research the brand’s reputation and read reviews specifically concerning issues like burning. Reliable manufacturers often incorporate design elements that address these common complaints, such as improved heating element designs or automated stirring mechanisms. Be cautious of extremely low-priced products, as they may cut corners on materials and design, potentially leading to less efficient heating, poorer temperature regulation, and a higher propensity for burning. Investing in a quality machine with a proven track record can save you frustration and ensure delicious soy milk for years to come.
“Many common soy milk maker issues, including burnt bottoms, can often be traced back to incorrect ingredient ratios or infrequent cleaning. A little diligence goes a long way in maintaining your machine and the quality of your milk.”
Conclusion
Dealing with burnt bottoms in your soy milk maker can be disheartening, but with the right knowledge and habits, it’s a completely manageable problem. By understanding the common causes, implementing preventative measures like proper bean preparation and regular cleaning, and knowing how to troubleshoot effectively, you can ensure your machine operates efficiently and produces consistently delicious soy milk. Remember, prevention is always easier than cure. A well-maintained machine not only lasts longer but also delivers the quality you expect. So, what steps will you take today to keep your soy milk maker in top condition and enjoy perfect homemade soy milk every time?
Frequently Asked Questions
How often should I clean my soy milk maker to prevent burning?
|
Our Picks for the Best Nut milk maker in 2026
As an Amazon Associate I earn from qualifying purchases.
|
||
| Num | Product | Action |
|---|---|---|
| 1 | Nut Milk Maker, 40 Oz 8 in 1 Homemade Automatic Plant-Based Milk, Soy Milk, Oat Milk, Almond Milk & More Multifunctional/12 Hours Timer/Auto-Clean/Room Temp/Keep Warm/Boil/Room Temp/Low-Noise |

|
| 2 | Nut Milk Maker, AlfaBot N2 Automatic Almond Milk Machine for Homemade Plant-Based Milk, Oat, Soy, Yogurt, 5 Modes/35OZ Big Capacity Soy Milk Maker with Delay Setting and Self Cleaning (Cream) |
|
| 3 | 35oz Nut Milk Maker, Compact Soy Milk Maker with 12 Blades, Automatic Almond Oat Milk Machine, Hot & Cold Functions,12H Timer, Auto Clean, Keep Warm, White Batch Plant-Based Milk Maker |
|
| 4 | 8-in-1 Automatic Nut Milk Maker Blender, 40.6oz Homemade Almond, Oat, Coconut, Soy, Plant-Based & Non-Dairy Milks, Soybean Machine with Delay Start, Keep Warm, Self-Cleaning & Boil Water Functions |
|
| 5 | EanOruus Juicer Machines, 3-in-1 Cold Press Juicer with 6.5" Extra Large Chute, 100oz Large Capacity, AC Motor, Makes Juice, Nut Milk & Sorbet, Premium Gray |
|
| 6 | Automatic Nut Milk Maker, 35 oz(1000ml) Homemade Almond, Oat, Soy, Plant-Based Milk and Dairy Free Beverages, Almond Milk Maker with Delay Start/Keep Warm/Boil Water, Soy Milk Maker with Nut Milk Bag |
|
| 7 | ChefWave Milkmade Soy Milk Maker – 6-in-1 Plant-Based Milk Machine for Almond, Oat, Soy, Cashew, Coconut & Macadamia – No Soaking, Auto-Clean, Delay Start, Glass Pitcher – White |
|
| 8 | 50.73oz Nut Milk Maker Machine: 12-in-1 Automatic Soy Milk Maker with Detachable Design, Homemade Juice,Almond,Oat Milks for Plant-Based Milks, 24H Delay Start/Keep Warm/Auto-Clean/Safety Lock |
|
| 9 | 8-IN-1 IAGREEA Nut Milk Maker Machine, 35 oz Soy Milk Maker, Oat, Soy, Plant Based and Dairy Free Beverages, Juice, 2H Keep Warm Countertop Blender, 10 Blades, 12H Delay Start, BPA-Free, Self-Cleaning |
|
| 10 | KIDISLE 32oz Automatic Soy Machine for Homemade Almond, Oat, Coconut, Soy, Plant Based Milks and Non Dairy Beverages with Delay Start/Keep Warm/Self-Cleaning/Boil Water, Black |
|
It is recommended to clean your soy milk maker immediately after every use to prevent residue buildup, which is a primary cause of burning. A thorough deep clean, including descaling, should be done periodically, perhaps monthly, depending on usage frequency.
Can I use vinegar to clean burnt residue from my soy milk maker?
Yes, white vinegar is an effective natural cleaner for burnt residue and water scales. You can soak the affected area with vinegar, or gently warm it if appropriate for your machine, before scrubbing with a soft cleaning pad.
What is the ideal water-to-bean ratio to avoid burning?
The ideal water-to-bean ratio varies by machine and desired consistency, so always consult your soy milk maker’s user manual for specific recommendations. Adhering to these guidelines helps ensure proper circulation and prevents concentrated solids from settling and burning.
Is it normal for some residue to form at the bottom?
A minimal amount of sediment is common due to the nature of soy milk production. However, significant or hardened residue that burns indicates a problem, often related to ingredient ratios, insufficient water, or delayed cleaning.
Does overfilling cause burning in soy milk makers?
Yes, overfilling can contribute to burning. It may hinder the proper mixing and circulation of ingredients, leading to uneven heating and potentially causing solids to stick and burn to the bottom or trigger boil-overs that leave behind concentrated residue.